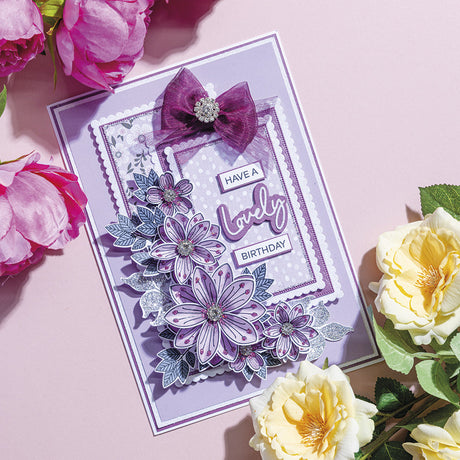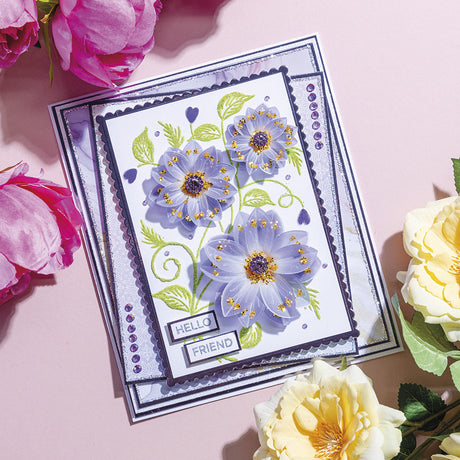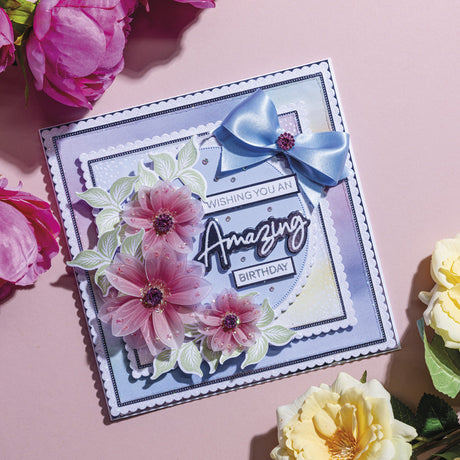
YOU WILL NEED:
- Chloe’s Creative Cards Frosty Christmas collection:
- Winter Wonderland Tree Die
- Snowflake Circles Die Set
- Christmas Magnolia Stamp and Die Set
- 8x8” foiled paper pad – Frosty Christmas
- Bling Box – Frosty Christmas
- 8x8” card blank
- 8x8" Circle die set
- Large Oval die set
- Beautiful Blues Self-Adhesive Sparkles
- Sparkelicious glitter – Silver Crystal, Blue Icicle, Night Sky and Glistening Ice
- Sugared Pastels mirror card pad
- WOW embossing powder – Opaque Bright White, Clear Gloss
- Chloe’s Creative Cards pearl card – Vista, Lapis Lazuli, Crystal White
- Silver mirror card
- Prize Ribbon Oxide inkpad
- Chloe’s Creative Cards Luxe ribbon – Sparkling Silver
- Versafine inkpad – Black
- WOW Clear Gloss and Metallic Silver Superfine embossing powder
- WOW embossing inkpad – Clear
- 3D Foam pads
- 3D glue gel
- Art Glitter Dries-Clear glue with fine-tip nozzle
- Die-cutting machine
- Heat gun
INSTRUCTIONS:
1 Trim a sheet of blue mirror card from the Sugared Pastels mirror card pad to size and attach to the 8x8" base card.
2 Die-cut the two largest dies from the Snowflake Frame die set and glitter both using the Glistening Ice Sparkelicious glitter. Matt and layer a piece of Vista Pearl card onto the largest snowflake die-cut and attach it to the base card with 3D foam pads. Next, secure jewels from the Frosty Christmas Bling Box to each snowflake using the Art Glitter Dries-Clear PVA glue. Finally, matt and layer a piece of patterned paper from the Frosty Christmas 8x8" foiled paper pad onto the top of the smaller snowflake die-cut and attach it to the main card with foam pads.
3 Using the large Oval die set, cut two different size ovals in Crystal White and Lapis Lazuli Pearl card. Glitter around the white oval using Diamante Sparkle Sparkelicious glitter, then matt and layer together and attach to the base card with 3D foam pads.
4 Die-cut the Winter Wonderland Tree in silver mirror card and secure to the middle of the white oval die-cut piece. Decorate the tree with small blue jewels from the Beautiful Blues Sparkles set and then around the edges of the oval with pearls from the Frosty Christmas Bling Box. Dot Art Glitter Dries-Clear PVA glue around the tree and cover with Silver Crystal Sparkelicious glitter.
5 Stamp, heat emboss and die-cut the Christmas Magnolia stamp and die set onto Crystal White pearl card, colour with Prize Ribbon Oxide Ink, glitter with Silver Crystal Sparkelicious glitter, and attach together with Pinflair glue. Next, die-cut the stamens in silver mirror card, glitter with Night Sky Sparkelicious glitter, and secure into the middle of the flower with Pinflair glue. Finally, decorate the leaves with Blue Icicle Sparkelicious glitter, and attach the leaves and flower to the main card.
6 Stamp, heat emboss and die-cut using a small circle the sentiment from the Christmas Magnolia stamp and die set onto Crystal White card using WOW Metallic Silver embossing powder. Finish by matting and layering onto a Vista Pearl circle and attaching it to the base card.


