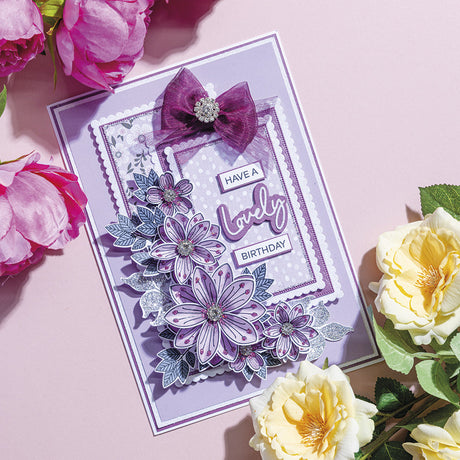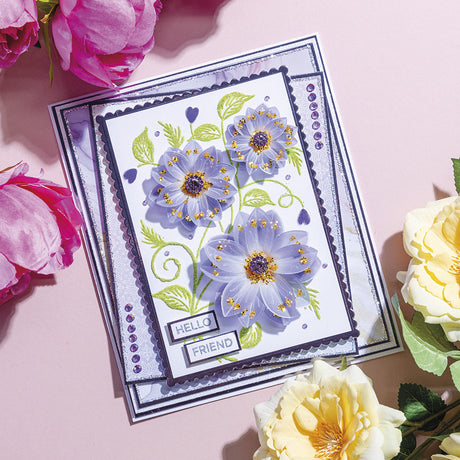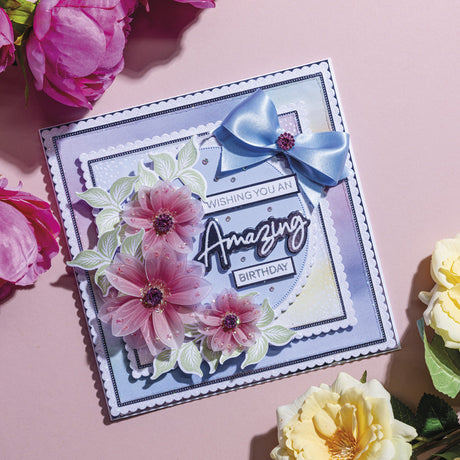
Today's step-by-step Christmas card tutorial will see you create a quick and easy...but beautiful card to send to your loved ones this festive period.
You will need:
- Chloes Creative Cards 8x8 Metal Die Set - Basic Ovals
- Chloes Creative Cards Snowflake Border Die
- Chloes Creative Cards Snowflake Tree Metal Die Set
- Chloes Creative Cards - Christmas Sentiment Banners Stamp and Die Set
- Sparkleicious glitter in: Winter Morning and Crystallina
- WOW Embossing Powder - Metallic Silver Superfine
- Chloes creative cards Luxury Pearl Card Crystal White
- Chloes Creative Cards 8x8 Foiled Paper Pad – White Christmas
- Silver mirror card
- Heavyweight acetate
- A4 Double Sided Adhesive Sheet
- Clear crystals (2 sizes)
- Large bling snowflake
- White organza ribbon
- WOW Clear Embossing Ink Pad
- Chloes Creative Cards 3mm foam pads on a roll
- Collall 3D glue gel
- Chloes Creative Cards Chisel Tip Glue Pen
- Art Glitter Dries clear glue with fine tip applicator
- Die cutting machine
- Guillotine
- Heat gun
- White 8" x 8" Straight Edge Card Blank

Instructions:
- Take an 8" x 8" card blank and cut 6” off one side of the card. Trim the other piece to 2” strips. Trim a piece of heavyweight acetate to 8” and affix to the back of the trimmed piece. Affix one of the 2” strips to the back to hide the acetate. Repeat at the bottom of the card sticking one piece to the front and one to the back.
- Die cut two pieces of silver mirror card to 2 3/4” by 7 3/4” and affix to the strips on the front of the card using dries clear glue. Cut two strips of Crystal White pearl card to 2 1/2” by 6 1/2”. Add Crystallina glitter to the edge using a glue pen. Add to the card using foam pads.

- Take a sheet of patterned paper and cut two strips to 6 1/4” by 2 1/4” and affix to the card using foam pads. Use the remaining paper on the inside the card in the centre, affix using dries clear glue.
- Die cut two Snowflake Borders from Crystal White pearl card, trim to fit and affix to the card using dries clear glue. Add a crystal to the centre of each snowflake.

- Die cut two oval (9)'s using Crystal White pearl card. Add one the the front of the card in a double layer of foam pads and the other to the back to hide the foam pads. Die cut another oval (10) from silver mirror card and affix to the card using dries clear glue.
- Stick a double sided adhesive sheet to a piece of Crystal White pearl card and die cut using oval 11. Peel off the other side of the sheet and cover in Winter Morning sparkelicious glitter. Add to the card using dries clear glue.

- Die cut the Snowflake Tree from silver mirror card. Add to the centre of the oval using 3D glue gel. Add a crystal to the centre of each snowflake.
- Add a few dots of glue on the acetate around the ovals and add on some small crystals.

- Stamp out one of the sentiments from the banner set and heat emboss using Metallic Silver Superfine. Trim around and add to the card using foam pads.
- Tie a triple bow, affix using 3D glue gel and add a snowflake bling stone to the centre.

I hope you've enjoyed this lovely lilac Christmas card tutorial - I can't wait to see all of your amazing creations so remember to share them on our Facebook and Instagram pages and follow us to keep up to date with all the latest news and collections. Chloe x


1 comment
Your cards are so beautiful and stunning they stand out so much at the craft shows