Hello Crafters,
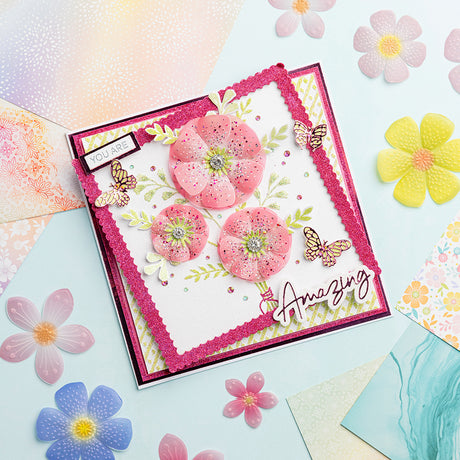
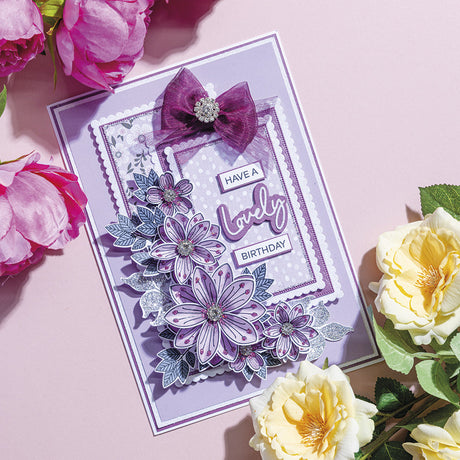
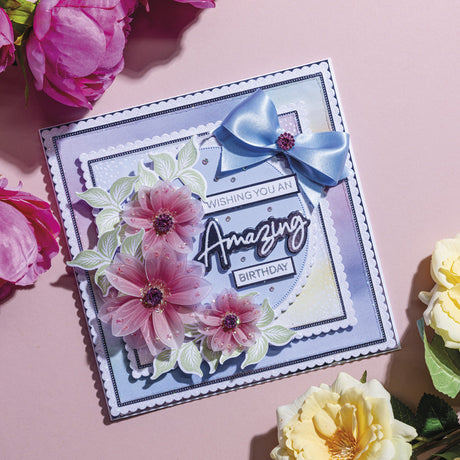
What better way is there to celebrate our new launch than to join in on one of our much-loved Stamp-Along sessions with Chloe? The card that you'll be recreating in this live stamp-along is such a gorgeous creation to send to a loved one to remind them just how amazing they are. Chloe has used the recently-launched Flower Builder collection for this pretty easel card, and you can, too, by reading on!
You can join Chloe on Thursday, the 20th of February, at 2pm, where she will guide you every step of the way!
Below, you can see the card in its entirety, so you can see just how many techniques are packed into this tutorial. It truly is a special card.

Materials:
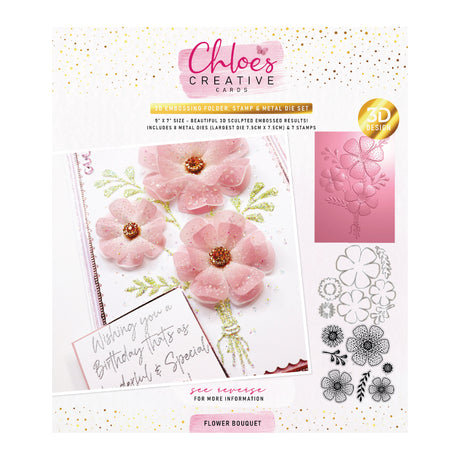
- Flower Builder collection:
- 3D embossing folder, metal die and stamp set – Flower Bouquet
- Metal die and stamp set – Amazing, Beautiful, Lovely Sentiment Builder
- Metal die set – Tiny Butterflies
- 8x8” paper pad – Pastel Rainbow Delight
- 5x7” Vellum Pad – Flower Ombre
- 3D embossing folder, metal die and stamp set – Flower Bouquet
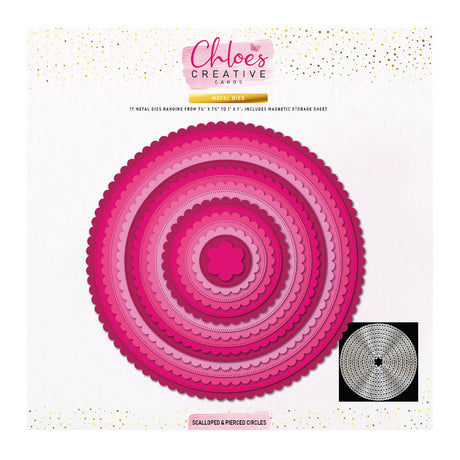
- 8x8” metal die set – Scalloped and Pierced Circles
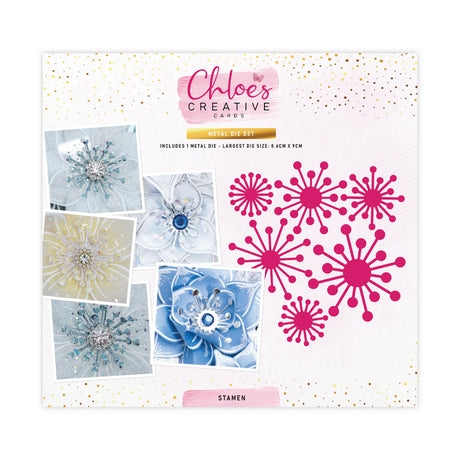
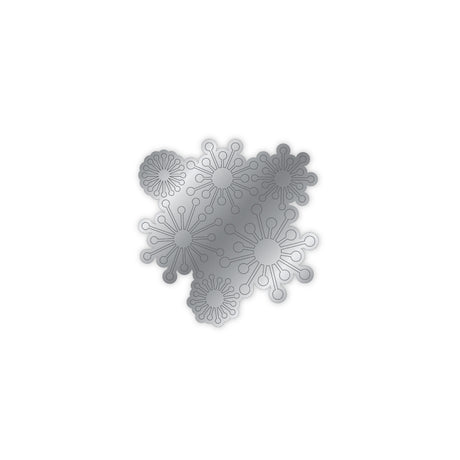
- Metal die set - Stamen
-
Smooth white cardstock
- Sparkelicious glitter – Lime Zing, Rainbow Yellow, Rainbow Violet, Rainbow Orange, Rainbow Green, Crystal Crush, and Chunky Crystallina
- Pearl Box – Candy
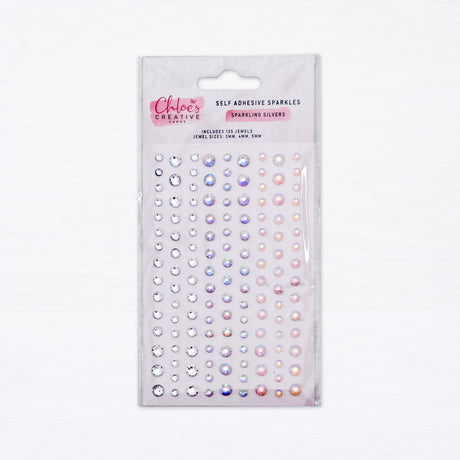
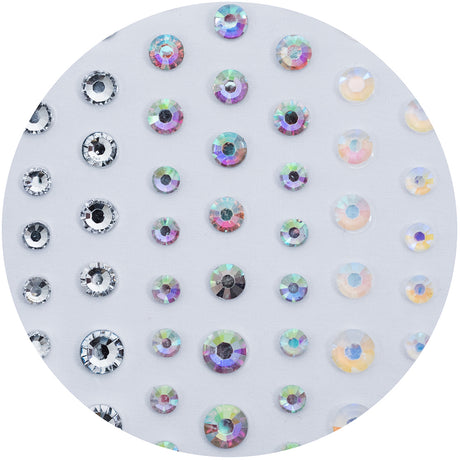
- Self-Adhesive Sparkles – Sparkling Silvers
- Versafine Clair inkpad – Morning Mist
-
Chisel-tip glue pen
-
Art Glitter Dries-clear PVA glue
-
Foam pads on a roll
-
8x8” white straight-edged card blank
- Die-cutting machine
Instructions:
1 Take an 8x8” card blank and the largest scalloped circle die, then overhang the die over the card spine and run through your die-cutting machine. This will create a scalloped-circle-shaped card. Fold the front of the card in half to create an easel card. Edge the bottom of the easel card with a chisel-tip glue pen, then cover with Crystal Crush Sparkelicious glitter. Die-cut a second scalloped circle from white card, edge with a chisel-tip glue pen, then cover with Crystal Crush Sparkelicious glitter. Affix to the front of the easel to create an easel card blank.
2 Die-cut two pierced circles from patterned paper. Affix one to the front of the easel card with foam pads and one to the card base. Die-cut a smaller scalloped circle from white card, edge using a chisel-tip glue pen and cover with Crystal Crush Sparkelicious glitter. Affix to the card base using foam pads. Die-cut another pierced circle, this time from blue patterned paper, then affix to the card.
3 Die-cut a scalloped circle from white card, place inside the 3D embossing folder, then run through the die-cutting machine. Cover the foliage with PVA glue and cover with Lime Zing Sparkelicious glitter. Apply lots of dots of PVA glue around the flowers and foliage, cover with Rainbow Green Sparkelicious glitter, then affix to the card base using foam pads.
4 Place pink, purple and orange vellum flower sheets in the corresponding 3D embossing folder and pass through the die-cutting machine. Die-cut the flowers with the coordinating dies. Apply dots of PVA glue to the orange flowers and cover with Rainbow Orange glitter. Apply dots of PVA glue to the pink flowers and cover with Rainbow Yellow glitter. Finally, apply dots of PVA glue to lilac flowers and cover with Rainbow Lilac glitter. Allow the glue to dry, then pinch down the centre of each of the petals to create a mountain fold. Layer the flowers together, adhering with PVA glue, and then affix to the base card.
5 Die-cut stamen from orange paper, apply dots of PVA glue to the edges of the stamen and then cover with Rainbow Yellow glitter. Allow to dry, then affix in the centre of the flowers. Take three large pearls, cover them with PVA glue, and cover with Rainbow Yellow glitter. Allow to dry then affix in the middle of the flowers.
6 Stamp ‘You are Amazing’ and ‘Remember That’ onto white card using a Morning Mist inkpad. Cut out and affix to the base card, as shown.
7 To create the easel stopper, die-cut a scalloped circle from white card and a pierced circle from turquoise patterned paper. Matt and layer them and then cut in half. Edge the white circle using a chisel-tip glue pen, cover with Crystal Crush glitter, then affix to the bottom of the base card using foam pads.
8 Die-cut four solid butterflies from white card, four solid butterflies from rainbow paper, and four filigree butterflies from white card. Cover the white butterflies with a chisel-tip glue pen and cover with Chunky Crystallina glitter. Layer the butterflies together by adhering in the middle only to allow the wings to ‘fly’. Adhere the butterflies to the base card, as shown. Complete the card by embellishing with self-adhesive sparkles.
DOWNLOAD THE INSTRUCTION SHEET HERE

I'd love to see your makes, so don't forget to share them on the Chloe's Creative Cards Facebook Group!