Hello Crafters,
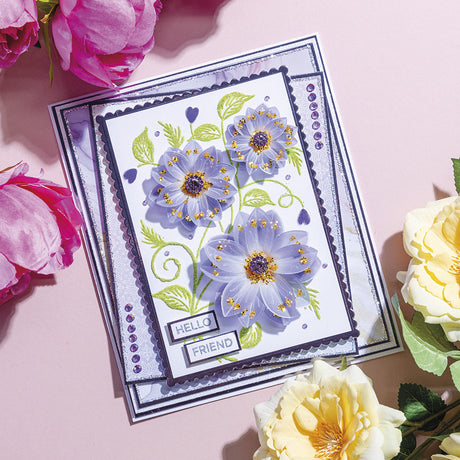
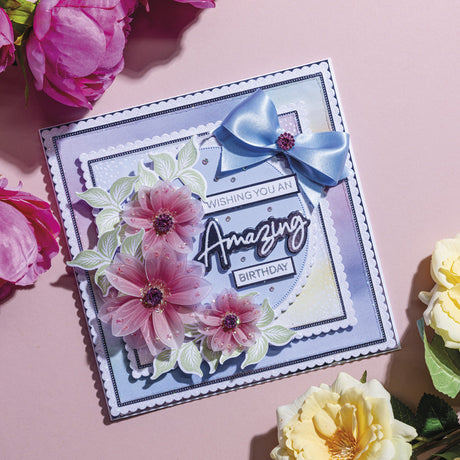
Today, we have a quick and easy card tutorial by the talented Rebecca that has big impact! Rebecca uses the recently-launched Winter Wonderland collection for this design, complemented by 8x8" embossing folders, nesting dies, and folder and die combos. It's a great design for when you're short on time but still want something with lots of elegance and style.
Read on for a full step-by-step project tutorial, complete with linked materials list.

YOU WILL NEED:
- Winter Wonderland collection:
- Wonderful Christmas stamp
- 5x7” 3D embossing folder & metal die set – Crystal Snowflake
- Winter Wonderland 8x8” foiled paper pad
- Foiled Acetate – Festive Foliage
- Bling Box – Winter Wonderland
- Nesting die set – 8x8” Snowflake Frames
- 8x8” embossing folder – Swirly Snowflakes
- Pearl card – Crystal White and Aquamarine
- White A4 cardstock
- Silver mirror card
- Sparkelicious glitter – Crystal Crush
- WOW! embossing powder – Clear Ocean
- Sparklers – 10mm and 12mm
- Foam pads on a roll
- Chisel-tip glue pen
- Pinflair 3D glue gel
- WOW! clear embossing inkpad
- Art Glitter Dries-Clear glue with a fine-tip applicator
- 8x8” white straight-edged card blank
- WOW! heat tool
- Die-cutting machine
INSTRUCTIONS:
1 Create a 7¾” square panel from foiled paper and affix to the card using dries-clear glue. Trim white cardstock to 7½” square and edge with a chisel-tip glue pen, then cover in Crystal Crush Sparkelicious glitter and affix to the card using foam pads. Trim a sheet of foiled paper to 7¼” square and affix to the card using dries-clear glue.
2 Die-cut one of the snowflake frames from white cardstock and edge with a chisel-tip glue pen then cover in Crystal Crush Sparkelicious glitter. Trim a sheet of Aquamarine pearl card to slightly larger and edge with Crystal Crush Sparkelicious glitter. Adhere both panels to the card, at an angle, using foam pads. Trim white card slightly smaller than the snowflake frame and then run through the Swirly Snowflakes embossing folder. Affix to the card.
3 Stamp out the sentiment onto white cardstock using a clear embossing inkpad and heat-emboss using Clear Ocean embossing powder. Trim then matt and layer onto silver mirror card. Affix to the centre of the card using foam pads.
4 Run a panel of aquamarine pearl card and two panels of silver mirror card through the Crystal Snowflakes embossing folder. Die-cut using the coordinating dies. Layer the snowflakes, as shown, and affix to the card using foam pads.
5 Cut out some of the foiled foliage and tuck behind the snowflakes using 3D glue gel. Add three crystals from the Bling Box to the remaining corners using dries-clear glue.


I hope you've found this stylish and elegant Christmas card tutorial by Christine informative and that it's inspired you to create your own version!
Remember to share your creations on our Facebook and Instagram pages and follow us to keep up to date with all the latest news and collections.
Chloe x


1 comment
This is a beautiful card.easy instructions and makes a big statement ,and whoever receives this will be very happy .I am going to try and make something very similar with chloes gorgeous products.and hopefully my attempt will be a reasonable attempt.