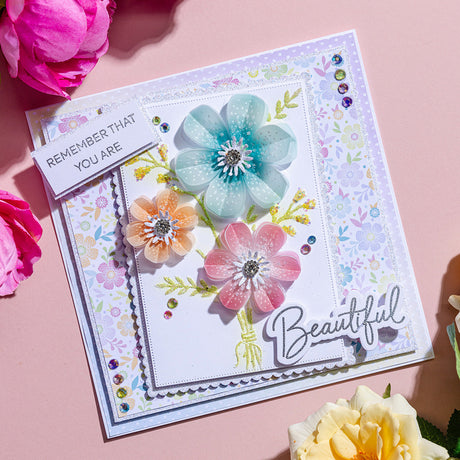
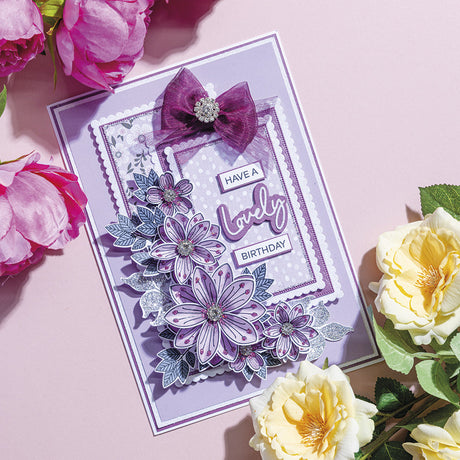
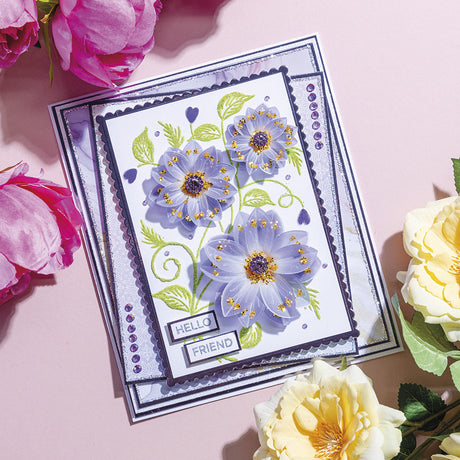
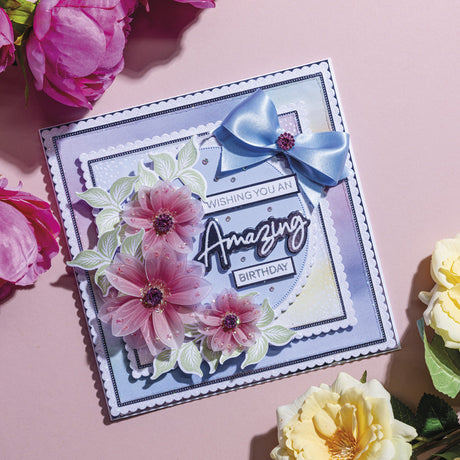
Today in our Back to Basics series, we're exploring nesting dies.

It's easy to look at nesting dies and think that they're great for matting and layering, but did you know that's only scratching the surface on the possibilities? There is SO much that you can do with this staple item in your craft stash, so we decided to dedicate a post to these wonderful, useful, dies.
Matting and Layering


To start, we're going to look at the one thing most people buy these die sets for - matting and layering. For those who have never bought a set of nesting dies, they are a series of shapes designed to 'nest' within each other to give you multiple sizes of the same shape. Often, when matting and layering, because you're dealing with quite fine 'borders', it can be pretty obvious if you're out with your measuring or cutting, even by just 1mm or 2mm. This is where nesting dies will become your best friend. You can achieve perfect, accurate results every time, giving your cards that professional finish. The sizes usually go up in even increments too, so you will have precise layers.
Shaped Card Blanks


There is no need to invest in multiple shaped card blanks when you have nesting dies - simply fold a sheet of cardstock in half, lay your desired shape/size die over the fold (ensuring you overhang the fold slightly so you don't end up with two separate shapes), pass through your die-cutting machine, and, hey presto!, you have yourself a shaped card blank! To cover the front of the card, disguising the 'cropped' area, simply cut another piece and adhere over the top. It's that simple. There's no need to restrict yourself to square and rectangular-shaped card blanks - the world's your oyster here!
Easel Cards


Following on from the above, you can also create beautiful easel cards using nesting dies. The technique is very similar to a standard shaped card, however, once you've cut your initial card blank, you need to fold the front in half horizontally to make a 'mountain' fold then you attach the separate shape to the bottom half only. When the card is closed it will lay flat, when it's open, it will resemble an artist's easel. Just remember to create your 'stopper' to allow your card front to stand up!
Stacked Easel Cards
Want to go one better than a standard easel card? You'll have no problem at all with nesting dies! Simply create a series of easel cards in decreasing size and use the next size down as your 'stopper'. As nesting dies come in a multitude of sizes in each set, you'll really be able to go to town with this design!
Aperture Cards


Apertures are used for a whole host of reasons in your papercrafting projects. You can use them in cards if you want to showcase pretty patterned papers and/or sentiments inside. You can add them to gift boxes with or without a layer of acetate to protect the contents. You can include them in scrapbooking layouts to nest over a precious photo. You can even use them for home décor projects. Nesting dies allow you to do this in a wide range of fabulous shapes.
Shaker Cards

Taking your aperture cards one step further, nesting dies can also be used to create wonderful, fun shaker cards. Named due to the fact that all the fun is in shaking them to watch the elements trapped between two layers move freely. You can totally go to town with shaker cards, using lots of fabulous elements like sequins, chunky glitter, micro beads, and more for the 'shaking' part. For the shape, you will need to use a minimum of two nesting dies - one for the main cut-out element, one to create a frame, and one (sometimes the same size as the frame) for the acetate 'window'.
There are a few different ways to create shaker cards but here's one easy way:
You will need to choose your 'window' shape and cut into a panel, cut this same-sized shape plus one larger together to create a frame to lay over the edge of the cut-out panel. Cut another shape, this time from acetate, the same size as the outer frame. Adhere the frame to the outside, then turn the panel over, lay the acetate piece over the top and 'sandwich' the acetate to the panel using foam pads. For additional adhesion, you could glue the acetate to the back of the panel first, but this isn't always necessary if you can be certain that the foam pads/tape are wide enough to 'grab' both the acetate shape and the back of the panel. Sit the shaker element (the sequins etc) within the area you'll be adding the panel on the card and then fix the panel into place.
Frames

Because nesting dies come in a large number of sizes within each set, they're perfect for creating frames of all widths. Want a narrow frame to create subtle detailing around a focal point? Select the two sizes closest to each other. Want to create something with real drama and impact? Simple - choose two dies from different areas within the set. You can use frames to draw attention to a stamped panel on a card, to create mixed-media embellishments (try wrapping ribbon or twine around certain areas of the frame for an interesting, tactile finish), to make a photo on a scrapbook layout stand out more, to add interesting detailing to a box frame or canvas for the home, and much more besides.
Stamping and Topper Panels

Who said stamping and topper panels needed to be square or rectangular? Certainly not us! Use your nesting dies to create interesting shapes for your stamped images and dimensional toppers. They create that added level of interest to your cards and give a professional feel. Use on their own for a subtle look or matt and layer it onto a contrasting colour, as in the example here for real impact.
There are so many other uses for nesting dies - use the smaller ones within the sets for gift tags and sentiment banners, and the larger ones for door and home décor plaques (cut out of thicker, heavier-weight cardstock for extra strength). The possibilities are endless.
One thing's for certain, once you buy a set of nesting dies, you will be reaching for them time and time again for all sorts of creative projects! Take a look here at the great selection we have available!


6 comments
Thank you Chloe I won my nesting dies and I wouldn’t like to be without them I am always using them and I have added more to the ones I won thank you again
Thank you for this inspirational help in use nesting dyes.
Its really appreciated. Regards Patricia
Thank you so much for this information I’ve found it very helpful
Thankyou chloe, it’s lovely you are doing these tutorials on your nesting dies, I don’t have them all yet so lm glad you have shared this info on how to do different styles of cards with these nesting dies, I’ve been wanting to make an easel card/shaker card for ages but couldn’t get my head round it. So thankyou.
,
Thankyou chloe for the info on how to use your nesting dies. I’ve been wanting to do an easel card a while now but never sure how, so I’ll can now have a go. Thankyou
lovely idea’s as always