

If you know me, you'll know from last year that gold and white is my all-time favourite colour combination for Christmas, it's just timeless. As soon as I saw this card, I knew I need to share the tutorial with you all - isn't it fabulous ? Check out the snowflake stamped cut outs on the layers...need I say more?
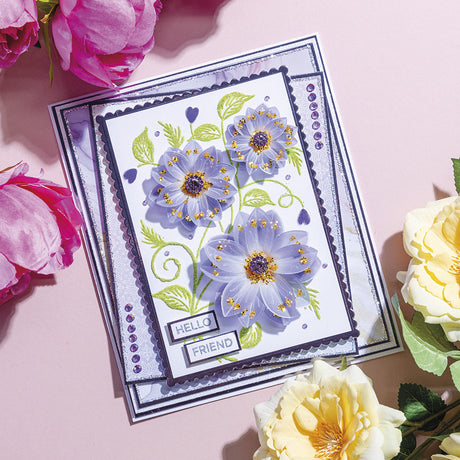
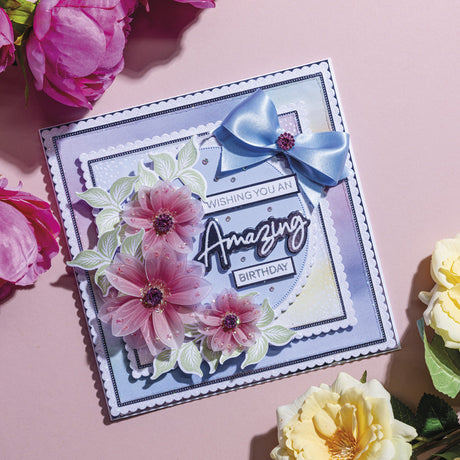
With this magical project from Glynis you'll be using some of the new products from our Christmas range including the Christmas Rose Stamp - it's HUGE and creates these amazing 3D flowers for your Christmas cards!
With this magical project from Glynis you'll be using some of the new products from our Christmas range including the Christmas Rose Stamp - it's HUGE and creates these amazing 3D flowers for your Christmas cards!
So what are you waiting for? Let's dust off our craft boxes and get making!
You'll need these:
-
White 8" x 8" Straight Edge Card Blank
- Chloes Creative Cards Grande Christmas Rose Stamp and Die Set
- Chloes Creative Cards 8x8 Metal Die Set - Snowflake Frames
- Chloes Creative Cards 8x8 Metal Die Set - Basic Squares
- Chloes Creative Cards 8x8 Foiled Paper Pad – White Christmas
- Sparkelicious Glitter Diamante Sparkle, Silver Snow, Glass Slipper and Sunset Boulevard
- Heat Resistant Acetate
- Chloes Creative Cards Festive Fancies Bling Box
- Stamps by Chloe WOW Twinkling Lights Embossing Glitter Powder
- WOW Clear Embossing Ink Pad
- Gold Mirror Card
- Chloes Creative Cards - Luxury Pearl Card Crystal White
- Chloes Creative Cards 3mm Foam pads on a Roll
- Art Glitter Dries clear glue
- Die Cutting Machine
- Heat gun
- Using the Ex Large Square Die Set cut numbers three and ten in gold mirror card, number four in Crystal White Pearl card, glittering the edges of this one with Diamante Sparkle Sparkelicious and cut numbers five and twelve in paper from the White Christmas Foiled Paper Pad.
- Matt and layer the three largest die cuts together and attach to the base card.

- From the Snowflake Frame Die Set cut number two, three and five in Crystal White Pearl card. Glitter the edges of the three snowflake die cuts with Glass Slipper Sparkelicious.

- Attach the largest one to the base card with foam pads and decorate with jewels from the Festive Fancies Bling Box, mat and layer onto the top the two remaining square die cuts i.e. gold mirror card and foiled paper.
- Secure the middle Snowflake Frame to the base card with foam pads and decorate with jewels from the Festive Fancies Bling Box.

- Stamp, heat emboss the Large Christmas Rose from the set onto Crystal White Pearl card using the WOW Twinkling Lights Embossing Glitter Powder, glitter around the outside of the petals with Glass Slipper Sparkelicious, and the inside with Silver Snow Sparkelicious, die cut the stamens in gold mirror card, decorate with Silver Snow Sparkelicious and a jewel from the Bling Box.

- Stamp, heat emboss and fussy cut the leaves in acetate and glitter from underneath with Glass Slipper Sparkelicious and Sunset Boulevard Sparkelicious, arrange onto the base card and secure in place with Pinflair

- Stamp and heat emboss the sentiment onto the smallest Snowflake Frame die cut, attach to the base card with foam pads and decorate with jewels from the Bling Box.

I hope you've enjoyed this beautiful Christmas card tutorial from Glynis -gold is one of my all-time favourite colours for Christmas! Remember to share your creations on our Facebook and Instagram pages and follow us to keep up to date with all the latest news and collections. Chloe x


3 comments
Thank you for this Lovely Christmas card it is beautiful . Must start and get sorted with my cards
Absolutely Gorgeous! I just love white Xmas cards and the gold is a stunning addition… Xmas rose and the snowflake frames are my favourite purchase so far.. Can’t wait for my new white Xmas goodies to arrive in the post 🤗❤️
Can’t wait to try this,it’s beautiful!