Hello Crafters,
Today's blog tutorial is an extra-special one, as we're including a FREE download sheet for you to print off and keep. The incredible Rebecca is the mastermind behind this creation, and I'm sure everyone would agree that it's full of the essence of Christmas, depicting Santa delivering the presents on Christmas Eve. Rebecca has used the new Santa's Workshop collection for this card tutorial, combined with a selection of popular items from the website.
Read on for a full step-by-step project tutorial, complete with full linked materials list. You can access the downloadable project sheet at the bottom of the page.

INSTRUCTIONS:
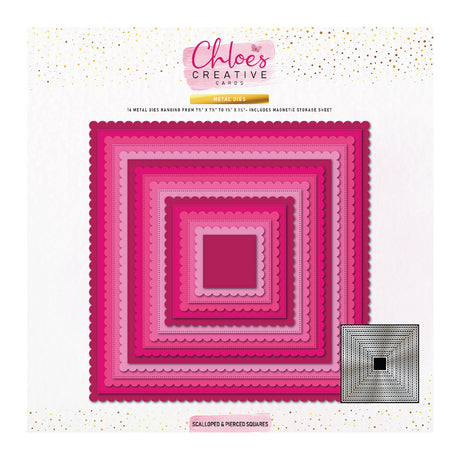
1 Cut the largest scalloped square from Jupiter pearl card and affix to the card blank using dries-clear glue. Trim a sheet of white cardstock to 7½” square and edge with a chisel-tip glue pen. Cover in Crystal Crush Sparkelicious glitter. Trim patterned paper to 7¼” square and glue to the white panel. Affix to the card using foam pads. Trim another sheet of white cardstock to 7” square and patterned paper to 6¾” square and adhere together. Edge with a chisel-tip glue pen and cover in Crystal Crush Sparkelicious glitter. Affix to the card using foam pads.
2 Die-cut a scalloped square from Jupiter pearl card and affix to the card at an angle using foam pads. Cut two panels of white cardstock: one to 6¼” square and the other to 6” square. Edge the larger piece with Crystal Crush Sparkelicious glitter and affix to the card using foam pads.
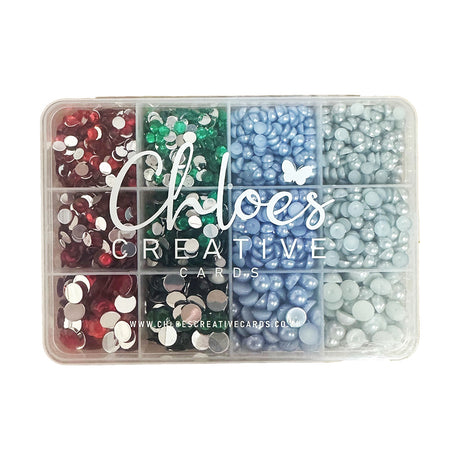
3 Stamp out the Christmas tree onto white cardstock using a clear embossing inkpad and heat-emboss using Hollywood Hills embossing powder. Ink the background with Tumbled Glass Distress Oxide. Colour in the tree, then add scribbles of dries-clear glue and cover in Mint Crisp Sparkelicious glitter. Add a few pearls and crystals to decorate the tree. Affix to the card using dries-clear glue. Apply Dries-clear glue to the star on the tree and cover in Starlit Sky Sparkelicious glitter.
4 Tear some ‘hills’ from white cardstock and affix to the card using foam pads. Add scribbles of Dries-clear glue and cover in Winter Wonderland Sparkelicious glitter.
5 Stamp out the Santa and sack using an Onyx Black inkpad and heat-emboss using Clear Gloss embossing powder. Die-cut using the coordinating dies and colour in. glitter using Red Poinsettia and All That Glistens Sparkelicious glitter. Affix to the card using foam pads.
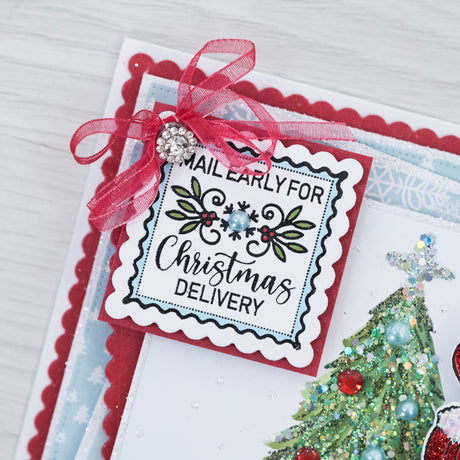
6 Die-cut a scalloped square from white card. Stamp out a postmark into the centre using Onyx Black ink and heat-emboss using Clear Gloss embossing powder. Colour in using alcohol markers. Matt and layer onto a Jupiter pearl card panel and affix to the card using foam pads. Tie a double bow and affix to the corner of the sentiment. Add a sparkler to the centre to finish.


DOWNLOAD YOUR FREE PROJECT SHEET HERE!
I hope you've found this magical Christmas card tutorial by Rebecca informative and that it's inspired you to create your own version!
Remember to share your creations on our Facebook and Instagram pages and follow us to keep up to date with all the latest news and collections.
Chloe x