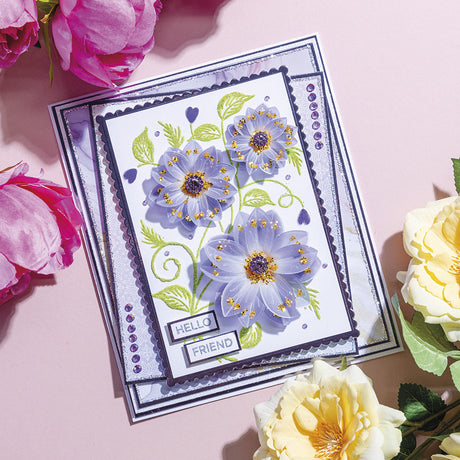
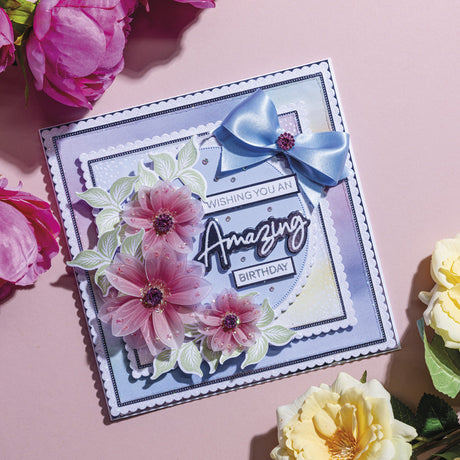
Today, I wanted to share with your how to make this beautiful Blue Patchwork Christmas Card. We shared the finished sample across our social channels (Facebook, Instagram & Pinterest) and everyone love it so much that we had to put the tutorial together for you!
When we released the fabulous new additions to the Papers by Chloe range in September we want to create some card that were a little different to normal. Each come with 36 sheets or beautiful festive designs, 12 different designs to be precise – the possibilities are endless!
You’ll need:
8×8 Christmas Sparkle Luxury Foiled Paper Pad
12×12 Christmas Sparkle Designer Paper Pad
8×8 Christmas Sparkle Mirror Card
6×6 Sparkling Christmas Dimensional Topper Pad (for sentiment)
White Card
Stamps by Chloe Sparkelicious Glitter Princess
Stamps by Chloe Sparkelicious Glitter Radiant
Self Adhesive Teal Glitter Jewels
Snowflake Diamante Bling Stone
White Sheet Ribbon
Foam Pads
White 7×7 Card Blank
Fancy watching the Blue Patchwork Christmas Card tutorial instead?
Watch the tutorial on YouTube!
Blue Patchwork Christmas Card Instructions:
Step 1
Cut a piece of snowflake foiled paper to 6 ¾” square, edge using a chisel tip glue pen, cover with Radiant glitter affix to the base card.
Step 2
Cut a piece of teal mirror card to 6 ½” square, affix to the base card using foam pads.
Step 3
Cut a piece of white card to 6 ¼” square, edge using a chisel tip glue pen cover with Radiant glitter and affix to the base card.
Step 4
Cut a piece of white card to 6” square.
Step 5
Cut strips of blue patterned paper and teal mirror card to 1” wide.
Step 6
Arrange strips onto the card as shown, affixing with dries clear PVA glue.
Step 7
Allow the glue to dry and then trim the strips to size.
Step 8
Edge some strips using PVA glue with a fine tip applicator and cover with Princess glitter.
Step 9
Edge the other strips using PVA glue with a fine tip applicator and cover with Radiant glitter.
Step 10
Edge piece using a chisel tip glue pen and cover with Radiant glitter.
Step 11
Affix to the base card using foam pads.
Step 12
Take Merry Christmas Sentiment, edge using a chisel tip glue pen, cover with Radiant glitter, affix to the base card using foam pads.
Step 13
Add a triple bow and bling stone just above the sentiment.
Step 14
Complete card by adding 3 self-adhesive teal glitter jewels to each corner.
There you have it, a unique Christmas Card. Did you like this Paper Patchwork project? Have you tried making this Blue Patchwork Christmas Card? Make sure you share your finished project in the Stamps by Chloe Facebook Group – We’d love to see it! You can find more Christmas Card Projects right here on the blog!


