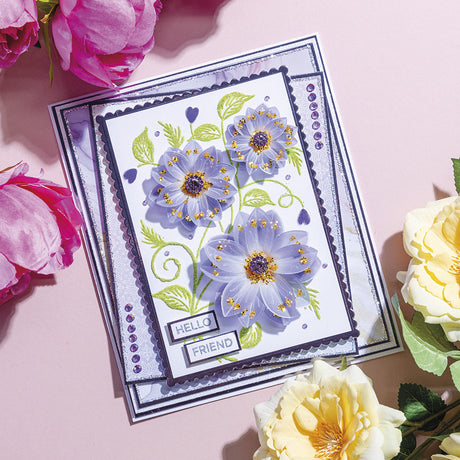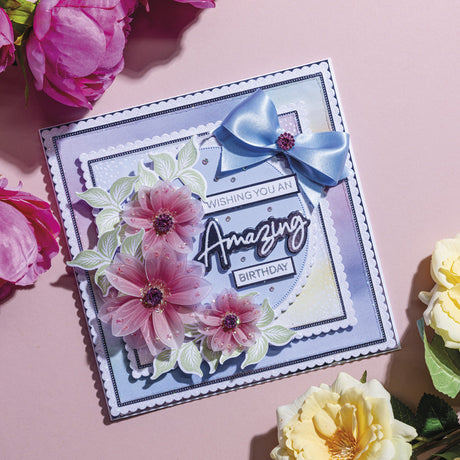
YOU WILL NEED:
- Christmas Rose stamp and die set
- Extra-Large Circle die set
- Circle Snowflakes nesting die set
- Frosty Christmas Vellum
- Frosty Christmas Bling Box
- Frosty Christmas paper pad
- 8x8” card blank
- Sparkelicious glitter – Diamante Sparkle, Crystal Crush, Night Sky and Silver Gilt
- WOW embossing powder – Metallic Silver and Mercury Glass
- Chloe’s Creative Cards pearl card – Vista and Crystal White
- Silver and Vista mirror card
- Plain vellum
- Acetate
- Ranger Sky Oxide inkpad
- WOW embossing inkpad – Clear
- Foam pads
- 3D glue gel
- Art Glitter Dries-Clear glue
- Die-cutting machine
- Heat gun
INSTRUCTIONS:
1 Stamp, heat-emboss and die-cut/fussy cut the Christmas Rose stamp and die set six times each with the Mercury Glass embossing powder in Crystal White pearl card, acetate, and plain vellum. Attach the petals together, ensuring the top layer is the acetate, and add Silver Gilt Sparkelicious glitter. Die-cut the stamens in silver mirror card, decorate with Night Sky Sparkelicious glitter and large blue jewels from the Frosty Christmas Bling Box, then secure in the middle of the Christmas Roses using Art Glitter glue. Stamp and heat-emboss the foliage from the Christmas Rose stamp and die set onto acetate, turn the images over, and add Night Sky Sparkelicious glitter. When completely dry, fussy cut.
2 Matt and layer a piece of patterned paper from the Frosty Christmas paper pad onto Crystal White Card. Add Diamante Sparkle Sparkelicious glitter to the edges of the white card, attach to a piece of Vista mirror card, then secure onto the base card.
3 Use the largest Snowflake Circle from the die set to cut Vista pearl card, then glitter around the edges with Crystal Crush Sparkelicious glitter and attach to the main card with foam pads. Die-cut the second die from the set in Crystal White pearl card and glitter around the edges with Diamante Sparkle Sparkelicious glitter. Using the third die in the set, cut patterned paper from the Frosty Christmas paper pad. Attach the Crystal White pearl and patterned paper circles together and secure onto the main card with foam pads.
4 For the frame, die-cut numbers eleven and fifteen together using the Extra-Large Circle die set in Vista mirror card. Place the largest circle die onto the Frosty Christmas Vellum and draw a thin pencil line on the inside of the circle. Fussy cut and attach to the underneath of the frame with Art Glitter glue and attach to the base card with foam pads.
5 Secure the Grande Roses and foliage onto the frame using Pinflair glue. Attach the clear jewels from the Frosty Christmas Bling Box onto the Vista Snowflake Circle using Art Glitter glue.
6 Stamp and heat-emboss the sentiment using the WOW Metallic Silver embossing powder onto Crystal White pearl card. Matt and layer onto Vista mirror card and attach with foam pads.


