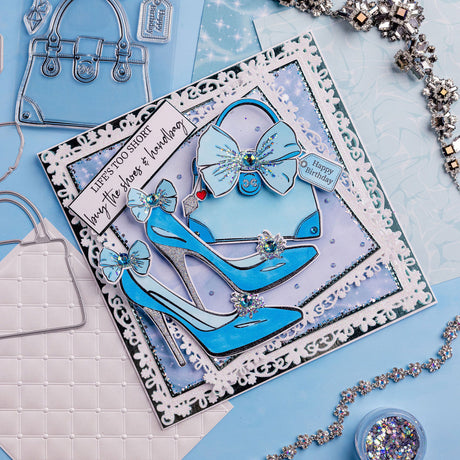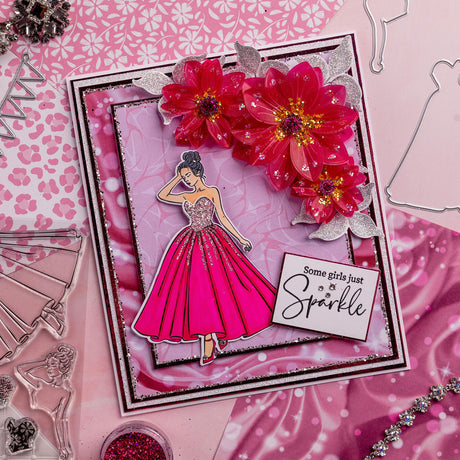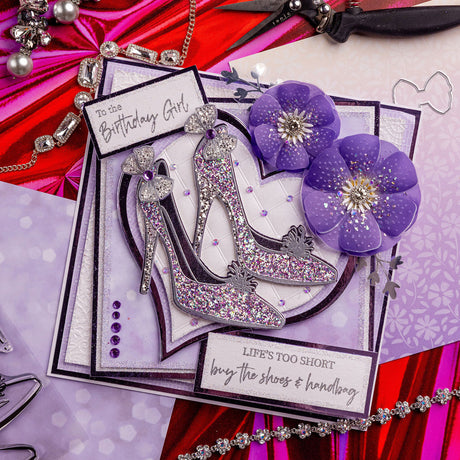
Get ready to pop the champagne there's a celebration on the cards!
This beautiful card-making tutorial by Glynis is the perfect way to celebrate some of life's special occasions like a wedding or engagement party. Don't be scared to re-create this pink glitter card using your own colour choice at home, but we all LOVE a pink themed card here at HQ!
Plus we all know the the lacy edges and Champagne Glasses Stamp Set is going to go down a treat with so many recipients!
So what are you waiting for? Let's get started and make this card!
What you'll need:
- Chloes Creative Cards 8x8 Metal Die Set - Lacy Squares
- Chloes Creative Cards 8x8 Metal Die Set - Lacy Circles
- Chloes Creative Cards Celebrate Circle Clear Stamp
- Chloes Creative Cards Metal Die Set Geometric Circle
- Chloes Creative Cards Stamp and Die Set - Time to Celebrate
- Chloes Creative Cards Stamp and Die Set - Champagne Glasses
- Chloes Creative Cards 8x8 Foiled Paper Pad – Celebrate Textures
- Chloes Creative Cards 8x8 Mirror Card Pad – Jewel Colours
- Chloes Creative Cards Bling Box – Spring Collection
- Chloes Creative Cards Bling Box - Chloe's Favourites
- Sparkelicious Glitter in Diamante Sparkle, Pink Starburst, Silver Frost and Glass Slipper
- Tim Holtz Kitch Flamingo Oxide Ink Pad
- WOW Embossing Powder - Metallic Silver Superfine
- WOW Clear Embossing Ink Pad
- Art Glitter Dries Clear PVA Glue
- Chloes Creative Cards 3mm Foam Pads on a Roll
- Heat Resistant Acetate
- Die Cutting Machine
- Heat gun
- White 8" x 8" Straight Edge Card Blank

Instructions:
- Find the middle of the front of the base card and score a line from the top to the bottom and fold back.
- Cover the three separate panels with pieces of mirror card from the Jewel Colours Mirror Card Pad.

- Die cut the largest die from the Lacy Squares die set twice, trim one down to fit the front and inside panels and glitter the edges with Diamante Sparkle Sparkelicious, glitter the edges of the one left whole and attach the three panels to the main card.
- Trim down two pieces of paper from the Celebrate Textures Foiled Paper Pad to fit the three different sections of the main card, colour with the Kitch Flamingo Oxide Ink and attach to the base card.

- Die cut the second die from the Lacy Circle Die Set in mirror card and secure on the base card with foam pads.
- Stamp and heat emboss the Congratulations Stamp in WOW Metallic Silver Superfine Embossing Powder, die cut using the Geometric Circle Die Set.

- Die cut the larger die in mirror card and mat and layer togeher and attach with foam pads, glitter with Pink Starburst and Silver Frost Sparkelicious and decorate with jewels from the Favourites and Spring Collection Bling Boxes.


- Stamp, heat emboss, fussy cut and glitter the bottle neck label and attach with foam pads. Stamp, heat emboss and fussy cut the champagne label and burst using Acetate, glitter from the back with Silver Frost and Glass Slipper Sparkelicious, decorate the burst with jewels from the Chloe's Favourites and Spring Collection Bling Boxes and secure to the back of the Champagne Glasses and attach the large label to the bottle with Art Glitter Glue.

- Arrange the bottle and glasses on to the front panel and secure with foam pads, decorate the glasses with jewels from the two Bling Boxes.


1 comment
Beautiful card this is one card I could use for a 21st this year. Beautiful